
Make-it-in-a-weekend: Baby Quilt
- prarthanadickson

- Dec 10, 2021
- 7 min read

Starting a quilt can be super daunting! Especially when you consider the size of most quilts. Which is why I LOVE baby quilts! The size is a lot more manageable, and it doesn't take ages to complete. So here's my go-to baby quilt-top pattern which can be made in one weekend (trust me, I timed myself). The best part is that it uses exactly 5 Fat Quarters (0.25 yards of fabric) and no background fabric. Backing for this is also quite easy - no need to piece! The quilt-top fits quite comfortably in 1.25 m of backing fabric.
Now, if this is your first quilt, and some of the words I've used don't make sense to you, that's okay - most acronyms and skills are explained in the step-by-step below; plus you're more than welcome to leave a comment/send me a question via the form at the bottom of the page and I'll get back to you with clarification.
SOME QUICK STATS
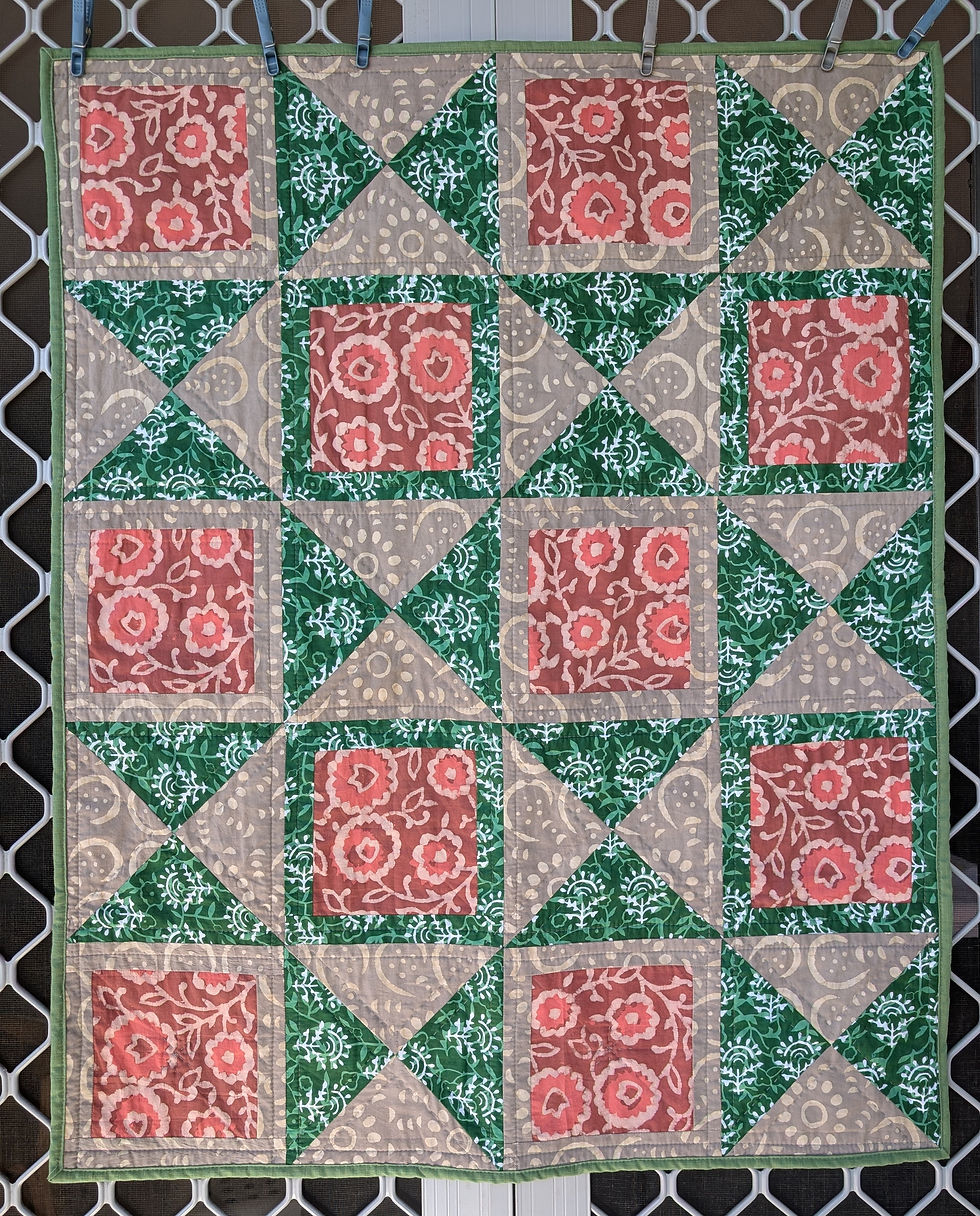
SIZE: 39" by 39" square
BEST USED AS: Baby Quilt
PERFECT GIFT FOR: Baby shower, new baby, Christmas present!
WHAT YOU NEED
Fabric for Quilt-Top: 5 different but coordinating Fat Quarters or FQs (FQs are 18" by 22" pre-cuts of fabric available at quilting stores. You can substitute with 5 different but coordinating pieces of 0.25m)
Fabric for backing: 1.25 m*
Fabric for binding: 0.5m
Batting: 42" by 42" (I prefer cotton or a cotton/bamboo blend, but this is completely up to you!)
Needle, thread, fabric scissors, fabric marker
That's the bare minimum; the list below is a "nice to have, but it's okay if you don't"
A rotary cutter (preferably with a new blade)
An A3 cutting mat
A quilting ruler, preferably two - a 24" by 6.5" and a 12.5" by 12.5"
Sewing machine (but this quilt 100% can be made by hand-sewing!)
A walking or even-feed foot for your sewing machine (for the quilting, but you can hand quilt!)
Safety pins for basting
*Make sure your fabric width (or WOF) for the backing is 42"
LETS GET STARTED
I used a pre-cut pack of 5 FQs for this project, and the set of 5 fabrics were 2 yellows, 2 greens and 1 white, which worked out great! So if you're using something similar, you can try the same layout. If not, it's best to assign numbers to your fabric, and label them accordingly. There's very little waste with this pattern, which unfortunately means there isn't much room for error. On the plus side it's a great stash-buster!

Here's my labeling:
C1 - Yellow bear
C2 - Yellow gingham
C3 - Green gingham
C4 - Green characters in a line
C5 - White with all characters
CUT YOUR FABRIC
Press your fabric before you begin! You can use this table to get all your fabric cut up, or cut as you go as part of the instructions below.
Fabric | Stage 1 | Stage 2* | Stage 3** |
|---|---|---|---|
C1 | 2 strips 4.5" by 18" | 2 strips 4.5" by 9" | 2 strips 4" by 8.5" |
C2 | 2 strips 4.5" by 18" | 2 strips 4.5" by 9" | 2 strips 4" by 8.5" |
C3 | 2 strips 4.5" by 18" | 2 strips 4.5" by 9" | 2 strips 4" by 8.5" |
C4 | 2 strips 4.5" by 18" | 2 strips 4.5" by 9" | 2 strips 4" by 8.5" |
C5 | 8 strips 4.5" by 9" | 4 4" squares |
* If your fabric is NOT directional, then this should be 1 strip 4.5" by 18" for fabrics C1 - C4, and 4 strips 4.5" by 18" for C5.
**If your fabric is directional, please do not cut Set 3 out before you read the last section.
LET'S START SEWING - STAGE 1
Because of the size of the project, I didn't cut all my different bits before starting to piece. I found it easier to keep things from getting mixed up.
Take C1-4. and cut TWO 4.5" strips along the short side of these FQs. i.e. each strip should measure 18" by 4.5".

(yes, I use a jar of coins to hold my ruler in place! It really is a pretty great way to keep you ruler from moving ).
You should have - 8 strips, each measuring 18" by 4.5"

Sew two strips together in the following order:
C1-C3 * 2
C2-C4 * 2
If your fabric is directional (i.e. there is a clear orientation to the fabric), then you can do this instead
C1 - C3
C3 - C1
C2 - C4
C4 - C2

Before opening up the fabrics, press the seams flat; this will help settle the seams. Then open up and press again, this time towards the darker colour. In my quilt I pressed my seams to the green side, this helps with nesting seams later on.
From each two-colour strip created this way, measure 4.5" from the top of the fabric and cut. This should yield FOUR rectangles made of two 4.5" squares, each from a different fabric. Do the same with all of them.
This is what you should have:
4 strips that are C1 - C3
4 strips that are C3 - C1
4 strips that are C2 - C4
4 strips that are C4 - C2
16 strips in total. Let's call these two-patch blocks.

Take one C1-C3 two-patch blocks and a C4-C2 two patch block and sew together to form a four-patch block. Here's where you want to 'nest' your seams, so the four seams meet together in a nice point.
Nesting Seams is just a fancy way of saying the seams of the two-patch blocks should both be facing opposite directions and you meet at one point. To secure this seam, it's a great idea to put a pin through both seams. This will make sure things don't shift around too much when you're sewing.

Using a C1-C3 two patch block with a C4-C2 two patch block means that all four fabrics are used in each block; in my case as I have two greens and two yellows, this also allows for alternating yellow and green blocks.
Make 7 more four-patch blocks. You will have four total combinations and two blocks in each combination. (If you don't have directional fabric in your mix, you may only have 2 possible combinations and 4 blocks in each combination).
Here are the combinations for directional fabric:
2 blocks C1-C3 to C4-C2
2 blocks C3-C1 to C2-C4
2 blocks C4-C2 to C1-C3
2 blocks C2-C4 to C3-C1
Here are the combinations for non-directional fabric (these are mirror images of each other):
4 blocks C1-C3 to C4-C2
4 blocks C3-C1 to C2-C4
16 four-patch blocks in total.
Make sure none of your prints are upside down or sideways!
STAGE 2
NEXT. From your fabric cut another 4.5" by 18" strip from fabrics C1 - C4. If your fabric is directional, sub-cut each strip in half; i.e. 2 strips of 4.5" by 9" from C1 - C4.
Cut four strips of 4.5" by 18" from C5. If you're fabric is directional, sub-cut each strip in half; i.e. 8 strips of 4.5" by 9".
Sew the 4.5" by 9" strips together as shown in the table below to create 8 two-patch blocks.
C1 - C5 | C3 - C5 |
C5 - C1 | C5 - C3 |
C2 - C5 | C4 - C5 |
C5 - C2 | C5 - C4 |
STOP! LET'S LAY IT ALL OUT
This is a good time to pause and work out a preliminary layout. I tried the following layout first, but after a sewing oopsie, settled on a different layout. Both are given below.


Sew the two-patch blocks from the previous step into four-patch blocks as shown in the "correct" layout.
Separate the quilt into four quadrants based on your layout with four 4-patch blocks in each quadrant.

Sew the four 4-patch blocks in each quadrant together to get one 16-patch block.
Sew these together to form the main portion of the quilt-top!
CHECK FOR ERRORS!
This is where I discovered that I had swapped a few blocks around and ended up with two of the same blocks next to each other in two places. Oops! (see Oopsie picture above!) So time for some seam ripping and re-sewing to get that perfect layout. OR you can leave it be, and pretend it was intentional! My final layout was different from what I intended, but it still turned out pretty great.
STAGE 3
We will add some borders now!
Cut four 4" by 18" Strips from the leftover fabrics C1 - C4. Pick which ones you want on which sides - i.e. top and bottom borders, or left and right borders.
Cut 4" squares from fabric C5. These will form "cornerstones".

If your fabric is directional, then take the fabrics you would like on the top and the bottom; cut each of these in half and sew them together again end to end so your print is right way up.
Sew the borders together in the order you like
Sew the C5 cornerstones on to the ends of either the horizontal or the vertical strips (choose only one).
Sew on the borders without the cornerstones onto the main part of the quilt-top.
PRESS!
Sew on the borders with the cornerstones. Make sure your seams line up! If your seams are off by just a little bit (less than 1/8th of an inch), you can probably stretch your fabric to *make* it line up.
Press your quilt.
And that's it! You've made your QUILT-TOP. Before going any further, give yourselves a pat on the back and treat yourself to something nice.
Finishing your Quilt
Back from your break? Are you ready to get back into the project? Great! Now that we have the quilt-top sorted we can work out the basting, quilting and binding! But, what do those terms mean?
Basting - making a quilt "sandwich" with the backing on the bottom, batting as stuffing the and quilt-top to top it off.
Quilting - These are stitches (decorative and functional) that go through all three layers of the quilt sandwich. These stitches keep the layers in place and makes sure your quilt survives all the many trips to the washing machine.
Binding* - That's the final step in finishing your quilt! This is a strip of fabric that goes around the edges of the quilt to seal in all the raw edges and give your quilt that finished look.
*For this quilt, I used a double binding (i.e. a strip folded over in half). So each strip was 2.5" wide. I needed almost exactly 4 WOF strips to complete the quilt. If you would like to give yourself some wiggle room, cut 5 WOF strips.
I won't go into each of the steps on this blog, but you can find some detailed tips on basting in another post here. Tips for Quilting and Binding your quilt here.
And now you're fully done! Your quilt is ready to be used, or gifted.


Take lots of pictures of the process. And if you post on social media, don't forget to tag @cecesquiltsandthings so I can see your lovely work as well!
Happy Quilting!


Comments