
Get Started Quilting 101
- prarthanadickson

- Jul 13, 2020
- 4 min read
Hi everyone and welcome to quilting with me!
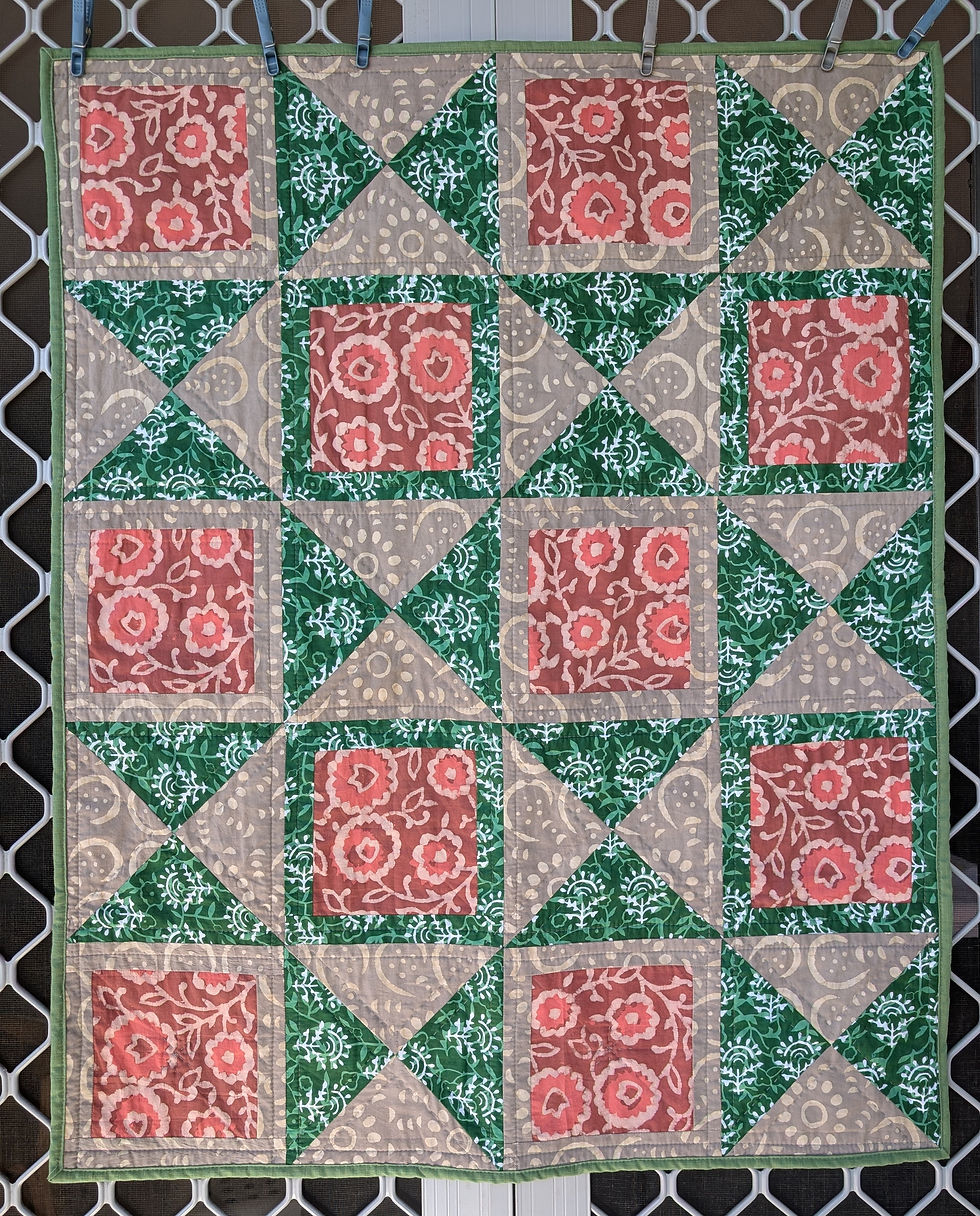
This is Part 1 of a two-part introduction. A little bit about me: my name is Prarthana Dickson. I live in Delhi at the moment - trying to survive the COVID/lockdown situation in the best way possible! Engaged to a wonderful man, Phillip, and in a season of waiting while I am in Delhi. Quilting was something I stumbled upon in 2011, through a colleague of mine. From the beginning, I found I enjoyed it immensely! For me, it is my place of quiet, where I can process through things while working on a task that uses my creative energy. Over the years, I have made one single bed quilt (plus some cushion covers to match that quilt), and I am currently working on a double-bed quilt; so this is pretty new for me as well!
Here's a little intro into quilting. Please do read through this!! A finished quilt has three parts - the stitched quilt top (which is the decorative part), the back of the quilt or backing, and the batting of the quilt (which is the stuff that's inside the quilt). Sometimes, people prefer to make just the quilt top by hand and outsource the rest to a tailor or quilter for the rest. Others prefer to machine stitch the quilt top, piece it together and quilt the rest by hand. For the quilt I made, I did the whole thing myself - but it does take a while! Depending on your preference, you might want to pick a different route - which is perfectly fine. For the purposes of this project, I'll share instructions on how to hand stitch a quilt top.
One thing to consider - because it takes a while to hand quilt, this project might have sentimental value to the quilter. The quilt I made - I called it my quilt of singleness. The time I spent making the quilt-top, it was my time of reflection on how God was using me in that season of being single. Once the quilt top was made, it took me a while to get materials to complete the rest of the quilt - but that's okay! Each time I was able to work on it, I found that it was another season of needing to renew that time of reflection with God.
Let's get started!
BEFORE WE START, here are quilting resources you will need (with links to things for purchasing, if you want!)
A work station - it is not easy to pack away quilt projects, so it's generally a good idea to have a table that won't be disturbed. I use an ironing board, which works out well because I need to iron fabric frequently.
A place to store your in-progress quilt. Even with a work station, it is not possible to lay out all parts of the quilt and leave it there while you're working on things. Having a place where you can store the work in progress quilt is essential. While the quilt top is being made, you will have lots of smaller cut pieces that have been marked and ironed; these should be kept in a way they don't crease. Here's what I have used:
The earlier stages - an old puzzle box/board game box for the smaller pieces, with uncut cloth stored in a cupboard where it won't get dusty.
In the middle - when there are big pieces and stitched pieces, I use a wide basket.
Once the pieces become bigger, these can be placed on clothes-hangers and hung in a closet.
A good iron - this is a must!
Rulers - I have used regular 12" rulers, that were clear in the past, but recently got some quilting rulers and I just can't imagine going back to regular rulers! If you can, I would highly recommend quilting rulers. Here's where you can get them on Amazon.
A good pair of fabric scissors to cut materials. I find it helpful to also have a smaller pair to cut the thread.
Lots of pins (I have always called these bellpins, but if you don't know what that is, it's a pin with one flat end and one sharp end).
Some dark pencils to draw lines. I recommend the Faber Castell Black Matt - HB or 2B.
White cotton thread - I find it easiest to work with white, instead of trying to blend with the color of the fabric I am using. You will need a LOT of this. Start with at least 5 of these, with easy access to get more if you need it.
Needles - good to have more than one that you can use. You will need regular ones (I got mine from my mom's sewing kit). For quilting, we will use a slightly thicker needle but that isn't needed for the quilt-top.
My Sewing and Quilting Work Station

Optional stuff I now find useful
rotary cutter - if you have little ones around, make sure these are stored away properly and out of reach! Here's the one I use on Amazon.
A self-healing mat - I find this is useful even if you don't have quilting rulers or a rotary cutter. Here's the one I use on Amazon.
In my next post, I'll get into the actual pattern, and some tips on how to pick the right fabrics. Later we'll look at modifying patterns and even adding customizations.
So excited to be embarking on this quilting journey with each of you. Blessings!


Comments